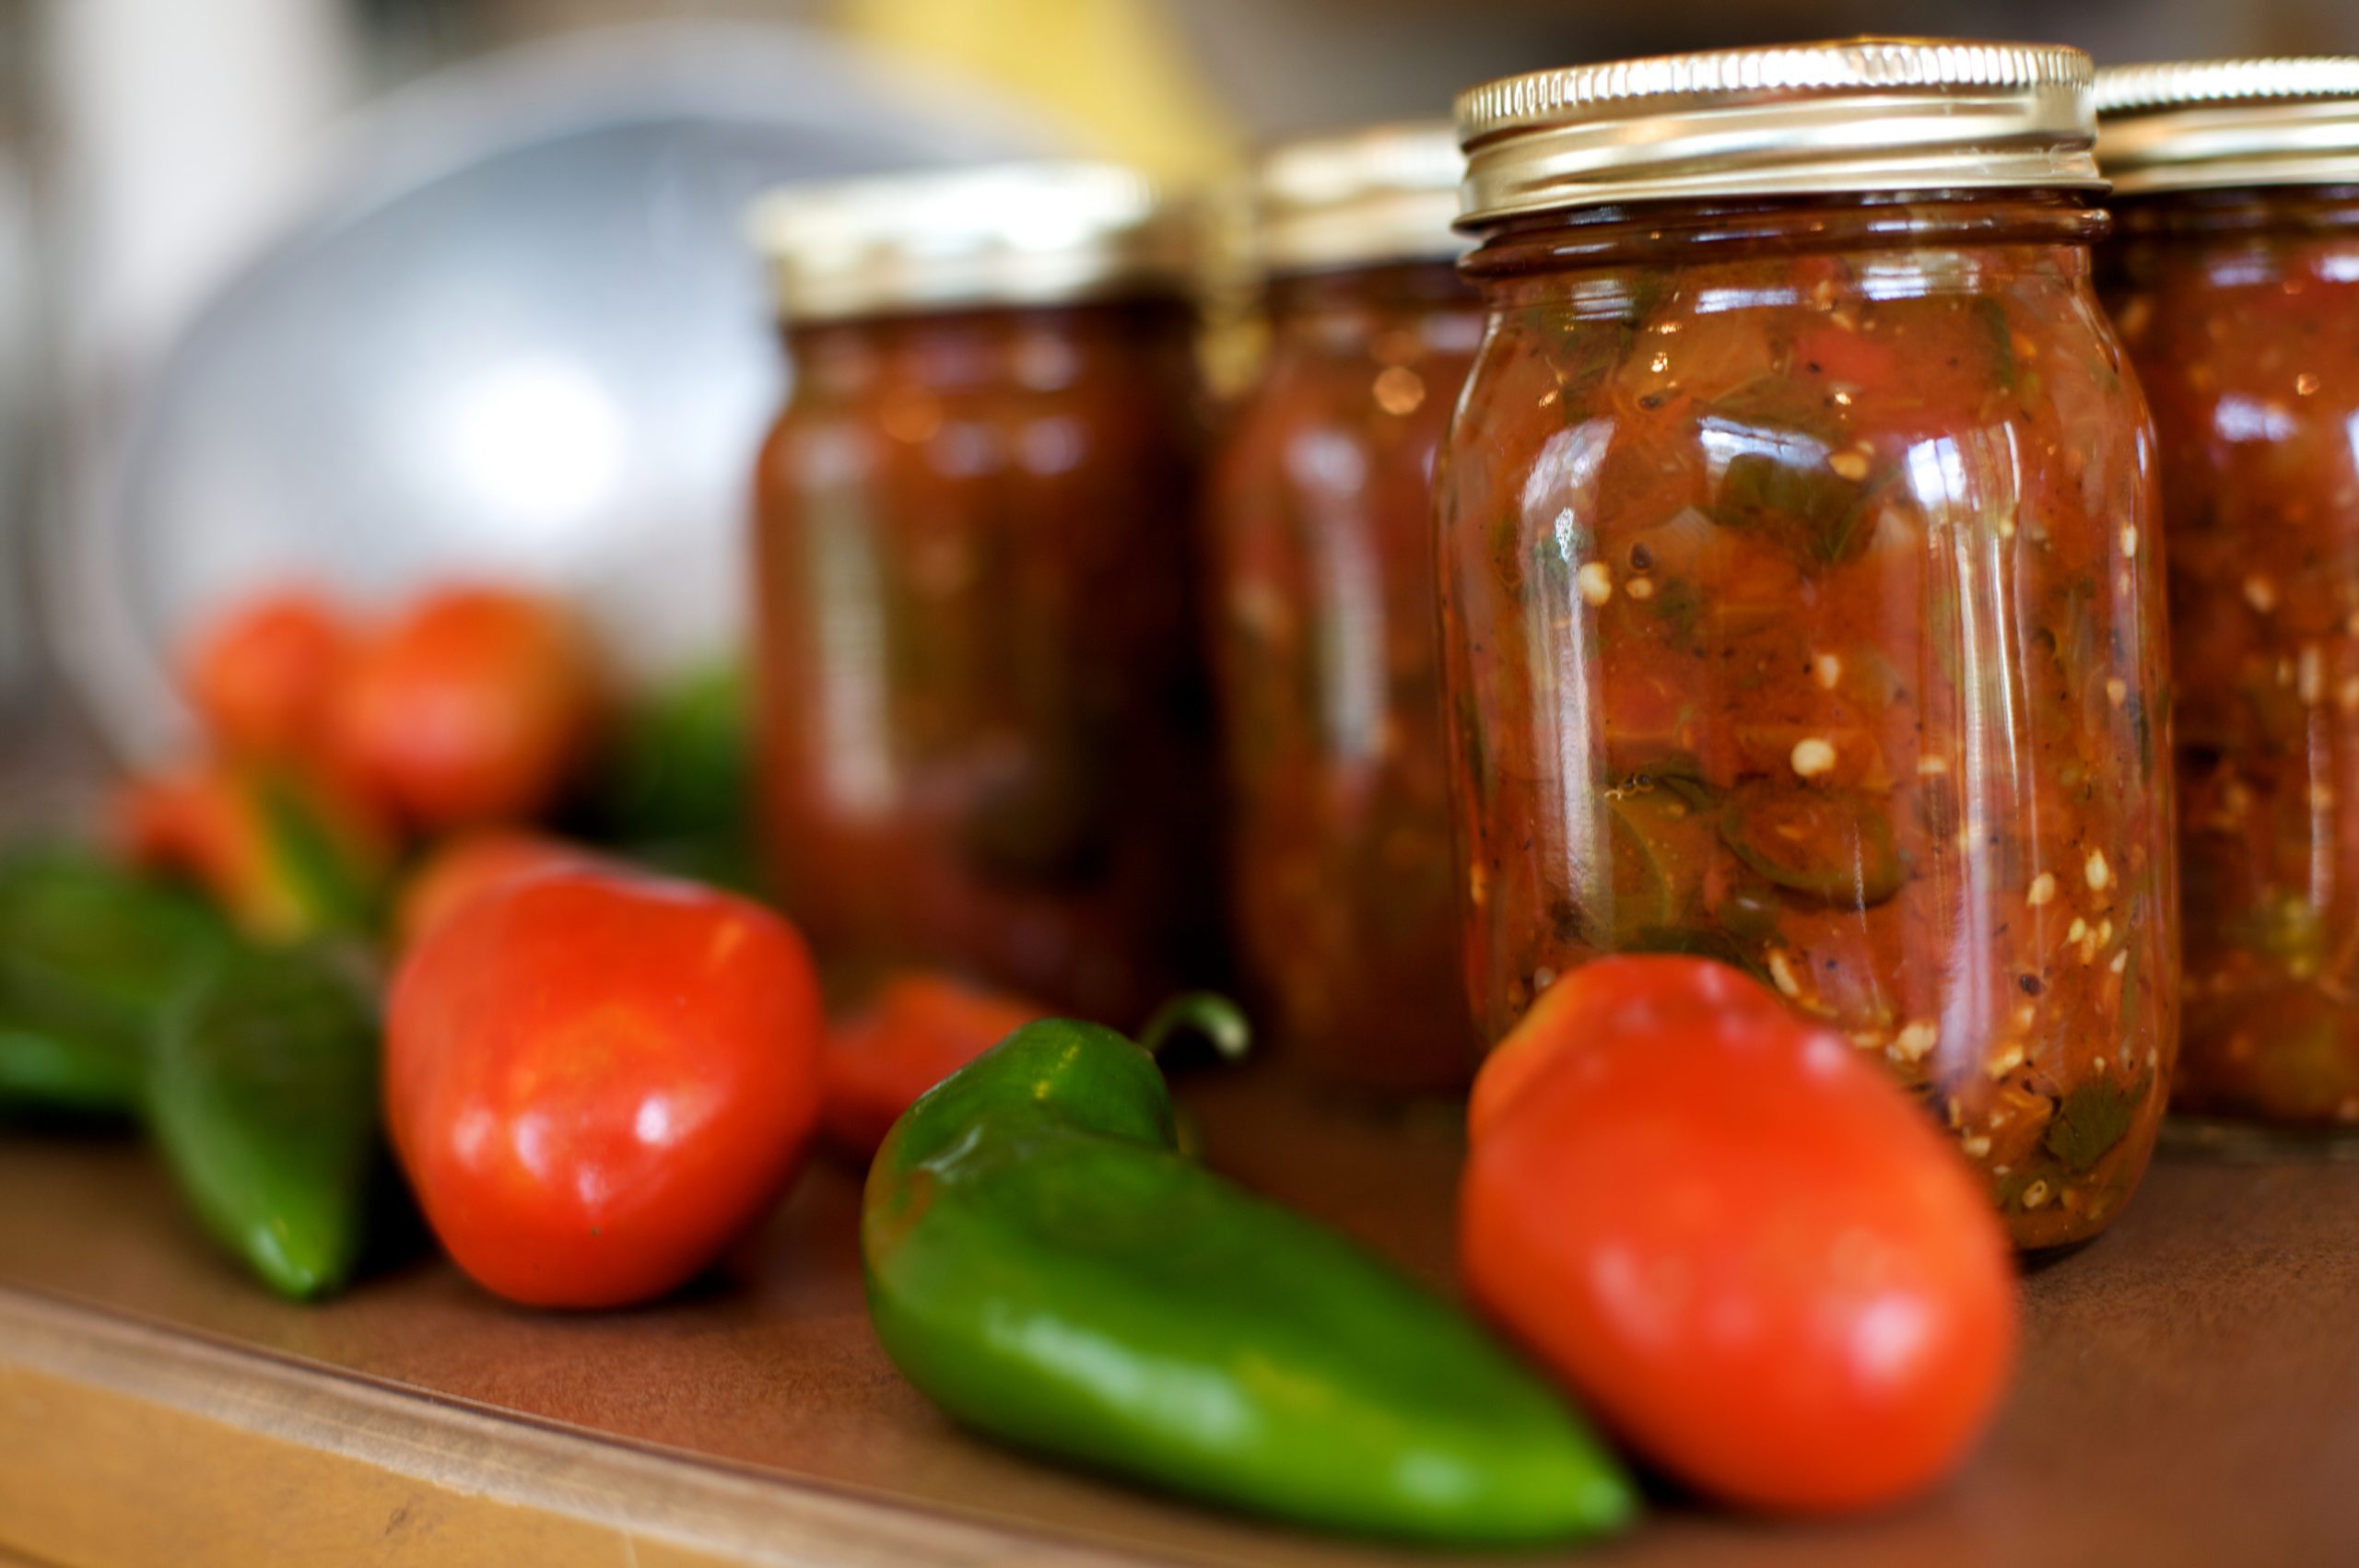
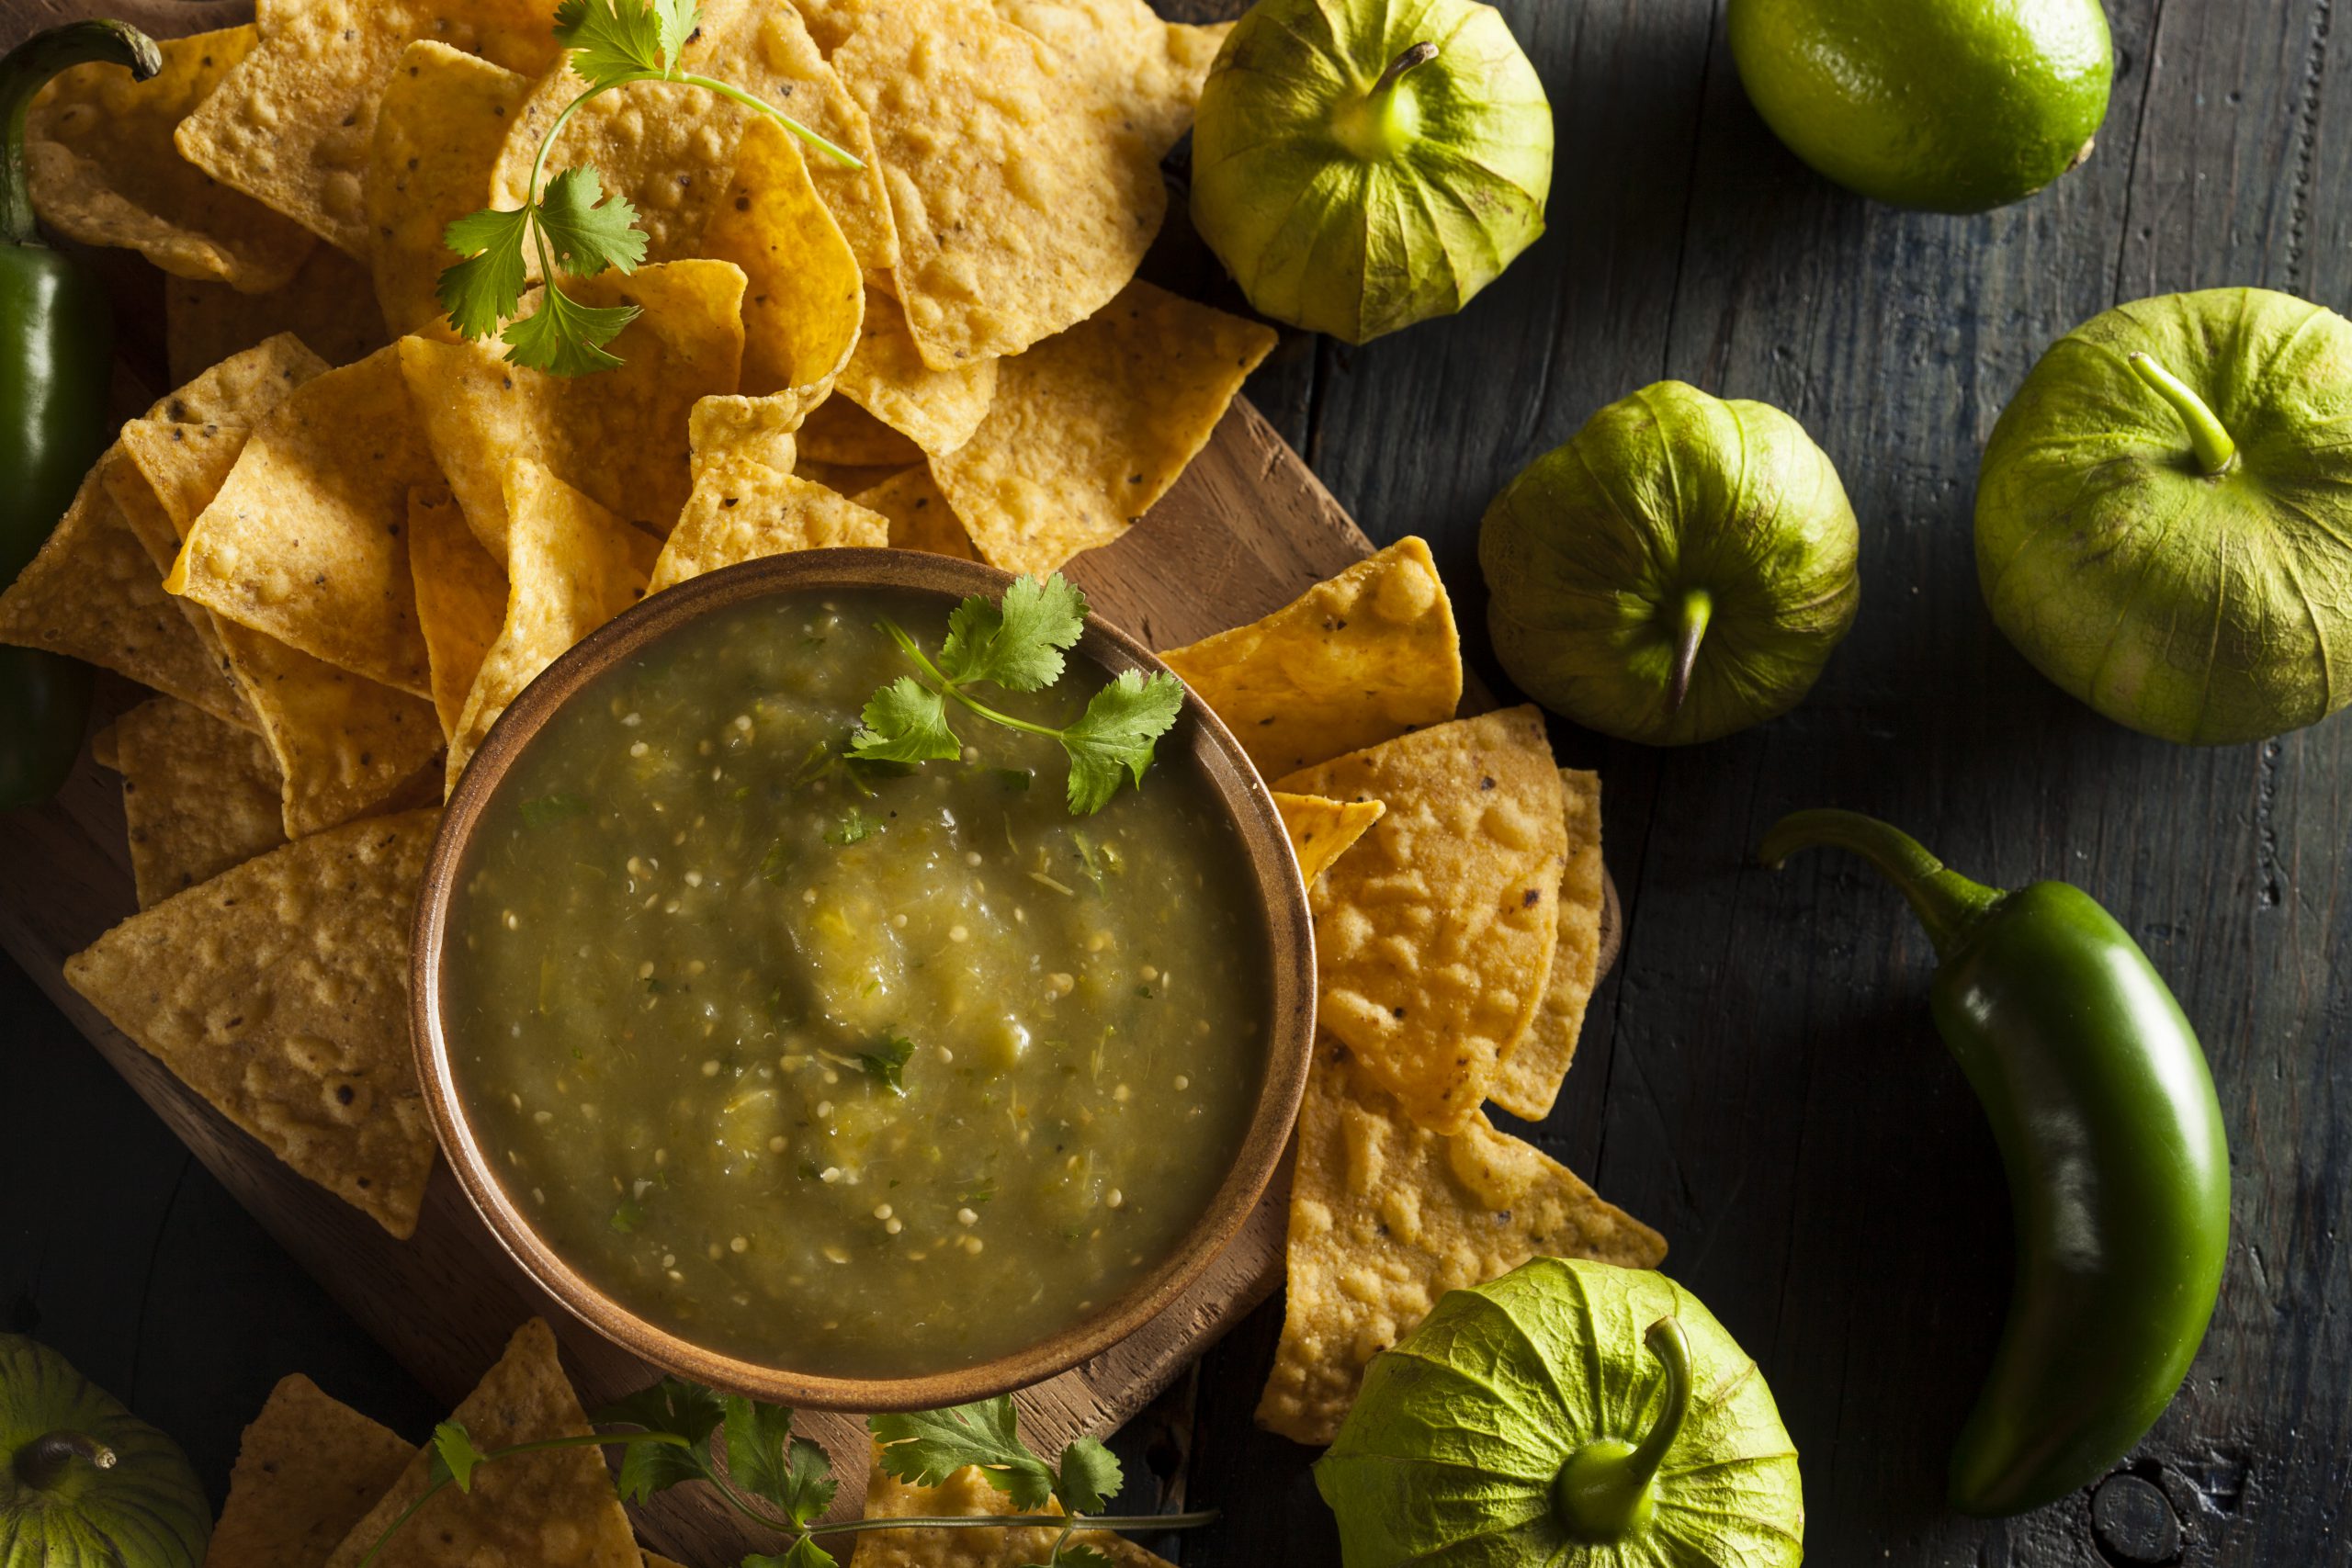
Don’t we all love the sweetness and acidity of tomatillos in our salads, pork, and hotdogs? However, one tomato-based food remains at the top of every person’s food list:  salsa verde.

Salsa verde is a spicy sauce, with Tomatillo as its star ingredient along with cilantro, lime, etc. It’s the perfect sauce to bring flavor and heat to your dishes.

If you’ve had a generous harvest of tomatillos this year, it’s time to get canning. Make sauces, preserves, and the unbeatable salsa verde that’ll serve you well for the rest of the year.

Read ahead and follow our easy steps to can tomatillo salsa verde:

1. Gather Equipment

  •   Food processor for salsa blending
  •   Water bath canner
  •   Canning tools: jar lifter, canning ladle, bubble popper, funnel, and lid lifter
  •   Canning bands and lids
  •   Rimmed baking sheets
  •   Pint-sized canning jars
  •   Gloves to handle hot peppers
  •   Necessary kitchen supplies like pot, saucepan, bowl, knife, towels, and cutting board

2. Prepare Canning Lids And Jars

Start by washing the jars, bands, and lids and place them in the water bath canner in the canning rack. Fill it with water and sterilize the jars by boiling them for 10 minutes. To warm the lids, follow the particular jar you are using manufacturer instructions.

Make sure everything is warm until they are ready to be canned.

3. Prepare Vegetables

Like any other vegetables, the tomatillos need proper cleaning. Peel off their husks and wash them properly to remove any sticky residue. Then, cut them in half and put them in the roasting pans.

Once this is done, wash your jalapeno peppers and peel and cut the onions into chunks, adding everything to the pans. Add peeled garlic to your vegetables by scattering them all over.

4. Make Salsa Verde

To make the salsa verde, start by removing the jalapeno peppers’ stems and seeds while wearing gloves. If you are more into heat, you can keep the seeds.

Due to the large volumes, work in batches to add the vegetables in a food processor. Process the mixtures until it is smooth and pour into a saucepot and continue the process until all the batches are done.

Add cilantro leaves, lime juice, pepper, salt, and cumin, stirring everything until combined. Simmer the mixture and then turn down the heat to low.

5. Can the Salsa

Prepare your warm jars, pour the hot salsa into them, remove air bubbles, and process them in a water bath canner. For the final process, make sure the jars cool down, test their seals, label and date them, and store the cans in a cool, dark place.

Conclusion

Salsa verde is one of the best spicy sauces to bring some heat to your food, especially if it is a Mexican dish. With Tomatillo growing in abundance and serving as the main ingredient to several dishes, it makes perfect sense to make the sauce in huge quantities and can it.

The canning process may seem tedious at first, but it is relatively straightforward. If you follow our guide to the details, you can safely preserve all that amazing salsa and enjoy it whenever you want.

For more canning recipes and guides, head over to Mrs. Wages.

Having pre-made canned salsa in your pantry can be a huge lifesaver, especially if you have unexpected guests or your friends decide to crash at your place at the last moment.

Take out a jar and use it as a dip with tortilla chips or make burrito bowls for your family and friends!

However, if you want the perfect salsa available anytime you need it, you’ll have to learn how to prepare and can it the right way.

Here’s how to do just that:

Canning Salsa – A Quick Guide

Packing up your salsa in cans is really easy, and with the right equipment, the entire process can even be fun.

When buying salsa ingredients like tomatoes, chilies, jalapenos, onions, apple cider vinegar, cilantro, garlic, and other seasonings, make sure you also buy jars, lids, and a water bath canner.

First, sterilize the jars and lids in a pot of boiling water – the same pot will be used later in the recipe for water bath canning.

While the sterilized jars dry, take your time to cook up that perfect salsa recipe and let it simmer for some time. Or better yet use Mrs. Wages® salsa mix packets!

Once the salsa is ready, pour hot salsa into clean hot pint canning jars, leaving ½-inch headspace. Remove air bubbles, wipe rim and cap each jar as it is filled. Process jars for 40 minutes* in boiling water bath canner. Turn off heat, carefully remove canner lid, and let jars stand for 5 minutes in canner. Remove jars. Let jars sit undisturbed to cool at room temperature for 12 to 24 hours.

Now if the salsa contains low acid foods like chilies, you’ll either have to pressure can the jars or add enough acidity to prevent the growth of bacteria.

If you want to use the water bath canning method, add vinegar to the salsa for additional acidity to it and to protect it from harmful bacteria.

Now, we are going to address queries that are often faced while canning salsa.

FAQs

Do You Have To Cook Salsa Before Canning?

Yes, otherwise, if you can raw or fresh salsa, you will have to process it for a longer time than cooked salsa. This will take much longer, so it is better to cook the salsa before canning.

How Do You Preserve Salsa?

Salsa is a mix of low acidic and high acidic foods. So, you need to follow a credible and tested recipe if you’d like to preserve salsa instead of experimenting with it. The proportions of ingredients used can help determine the type of canning method.

If the pH of the salsa is less than 4.6, the boiling water canning method should be used, but if the mixture is less acidic, then pressure canning will become necessary to prevent bacterial growth.

Is It Possible To Can Salsa Without Cooking It?

Yes, salsa can be canned before cooking it. But for that, you need to ensure that it has enough acid to lower the pH. Also, the raw or fresh salsa will be cooked anyway during the heat processing or water bath.

Canning it without cooking will preserve the texture of fresh salsa if you prefer it.

Can You Water Bath Salsa?

Yes, you can and should water bath salsa as it creates a tight vacuum seal that ensures pathogens do not enter the jar. Also, it takes care of those microbes that are not affected by acid levels.

* Processing time listed is for altitudes less than 1000 feet. At altitudes of 1000 feet or more, increase processing time 1 minute for each 1000 feet of altitude.

Land o Lakes

And follow us on your favorite social media apps: