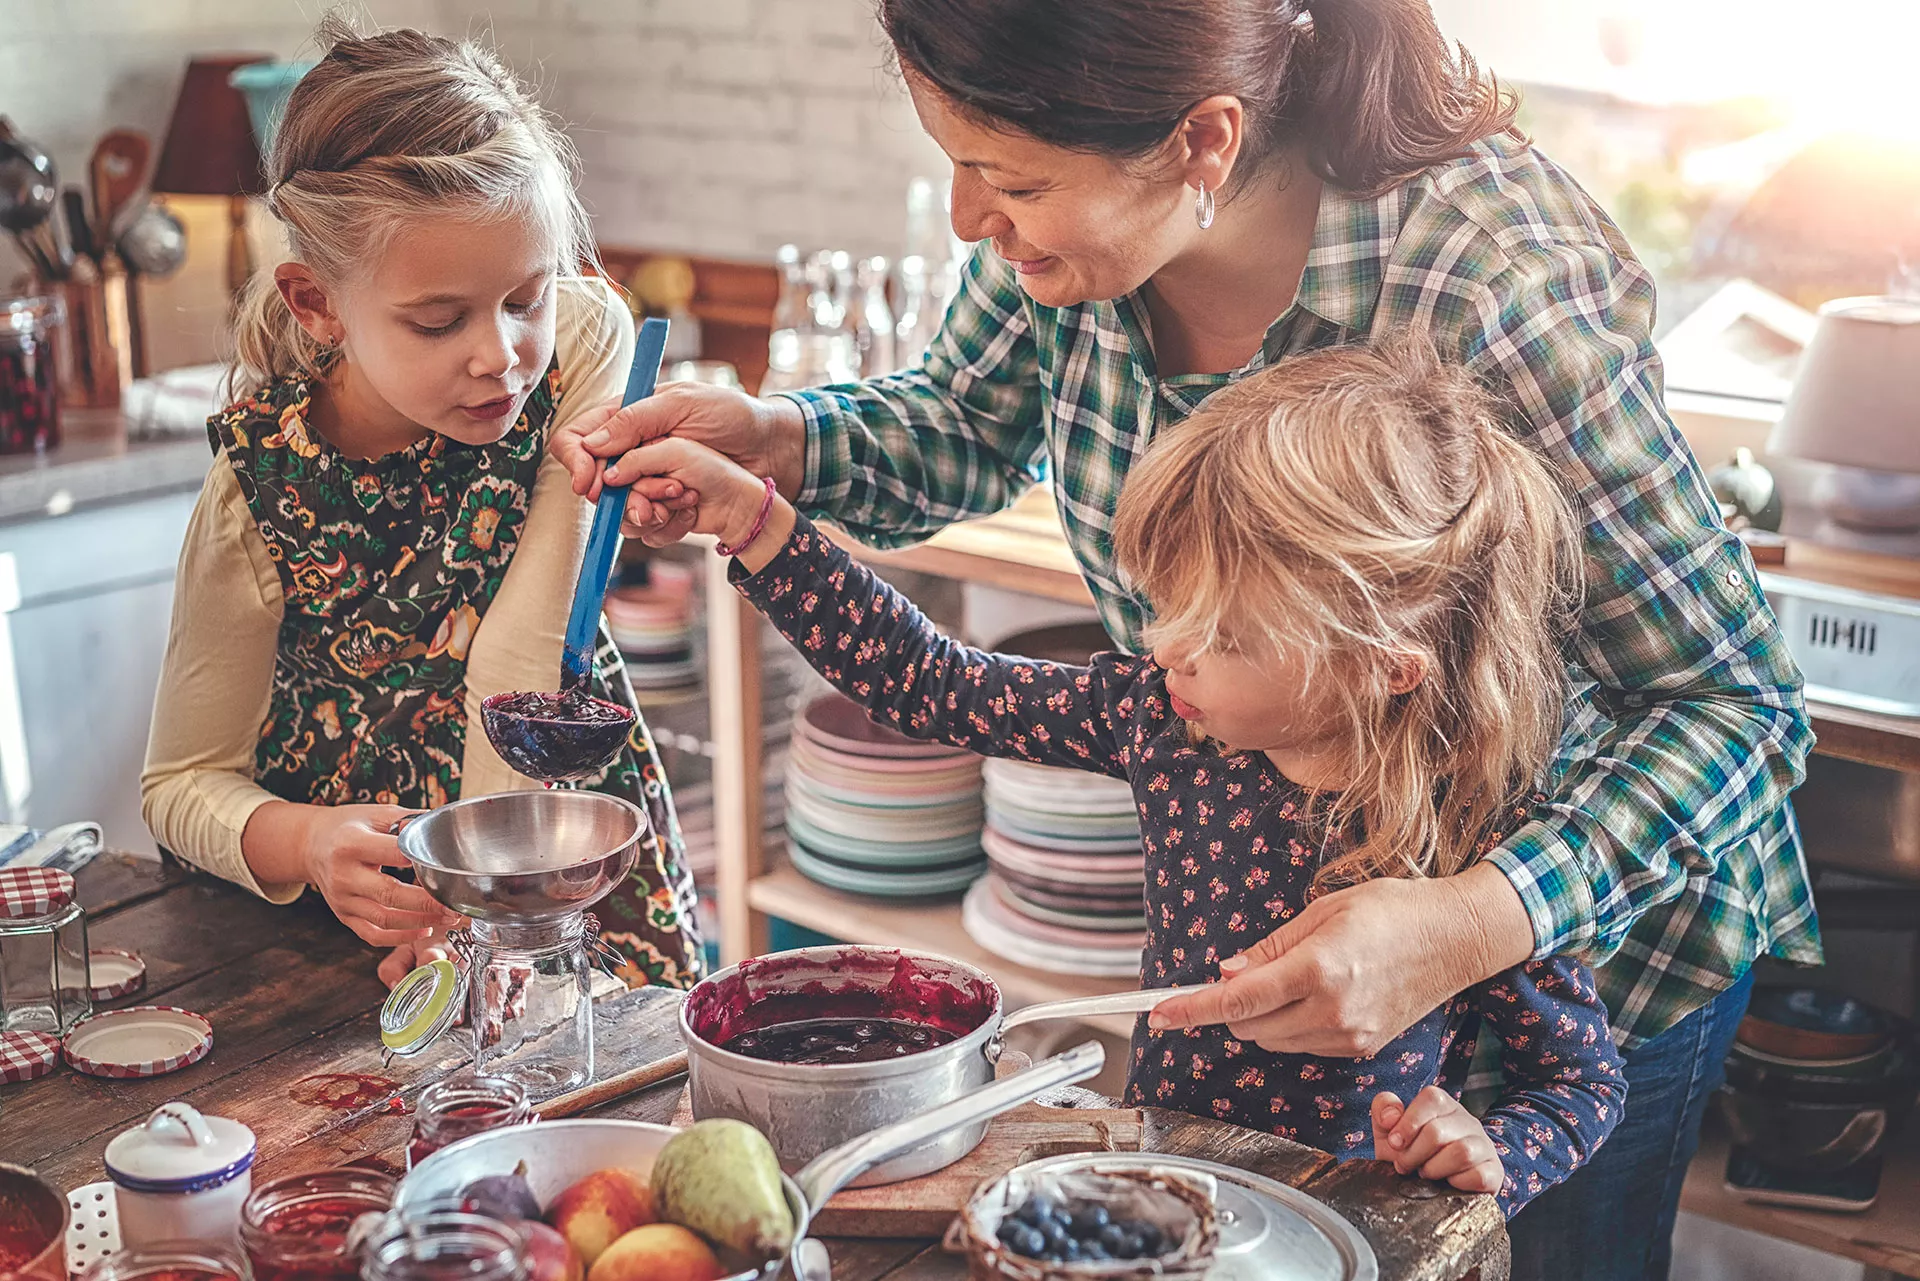
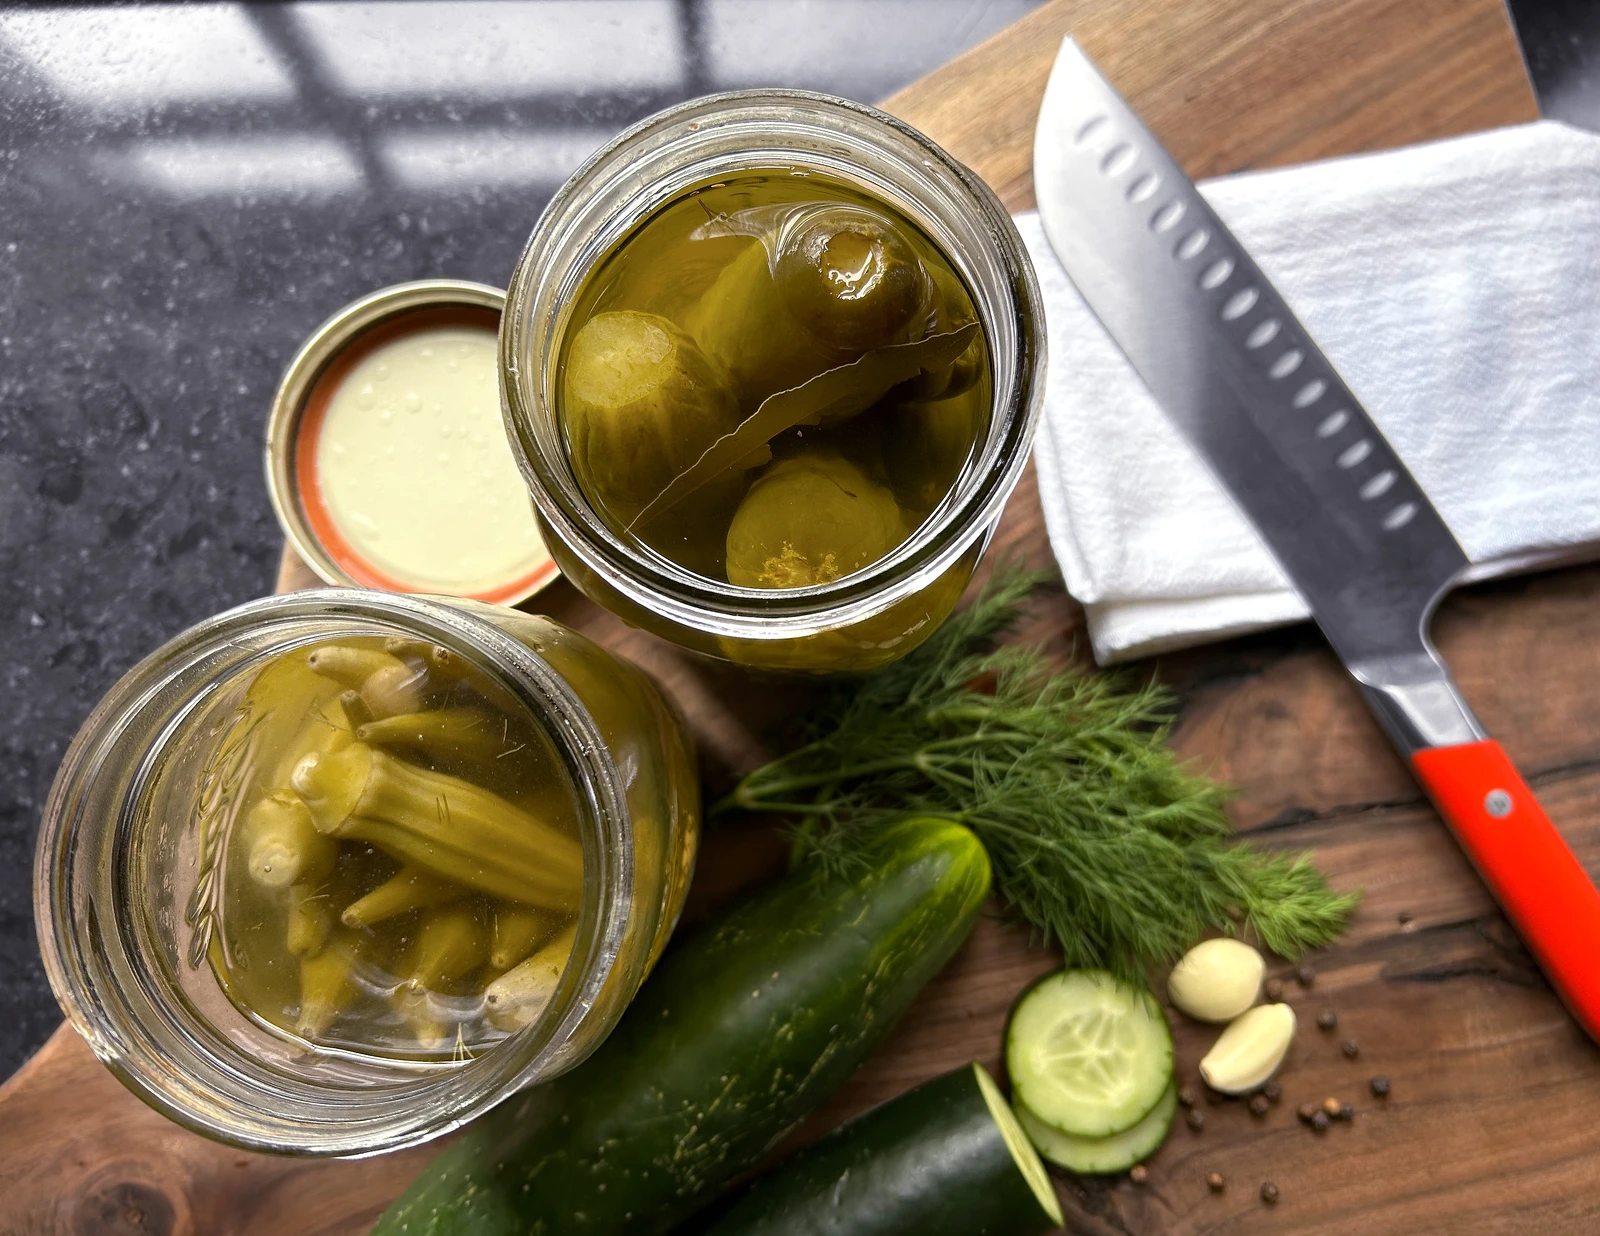
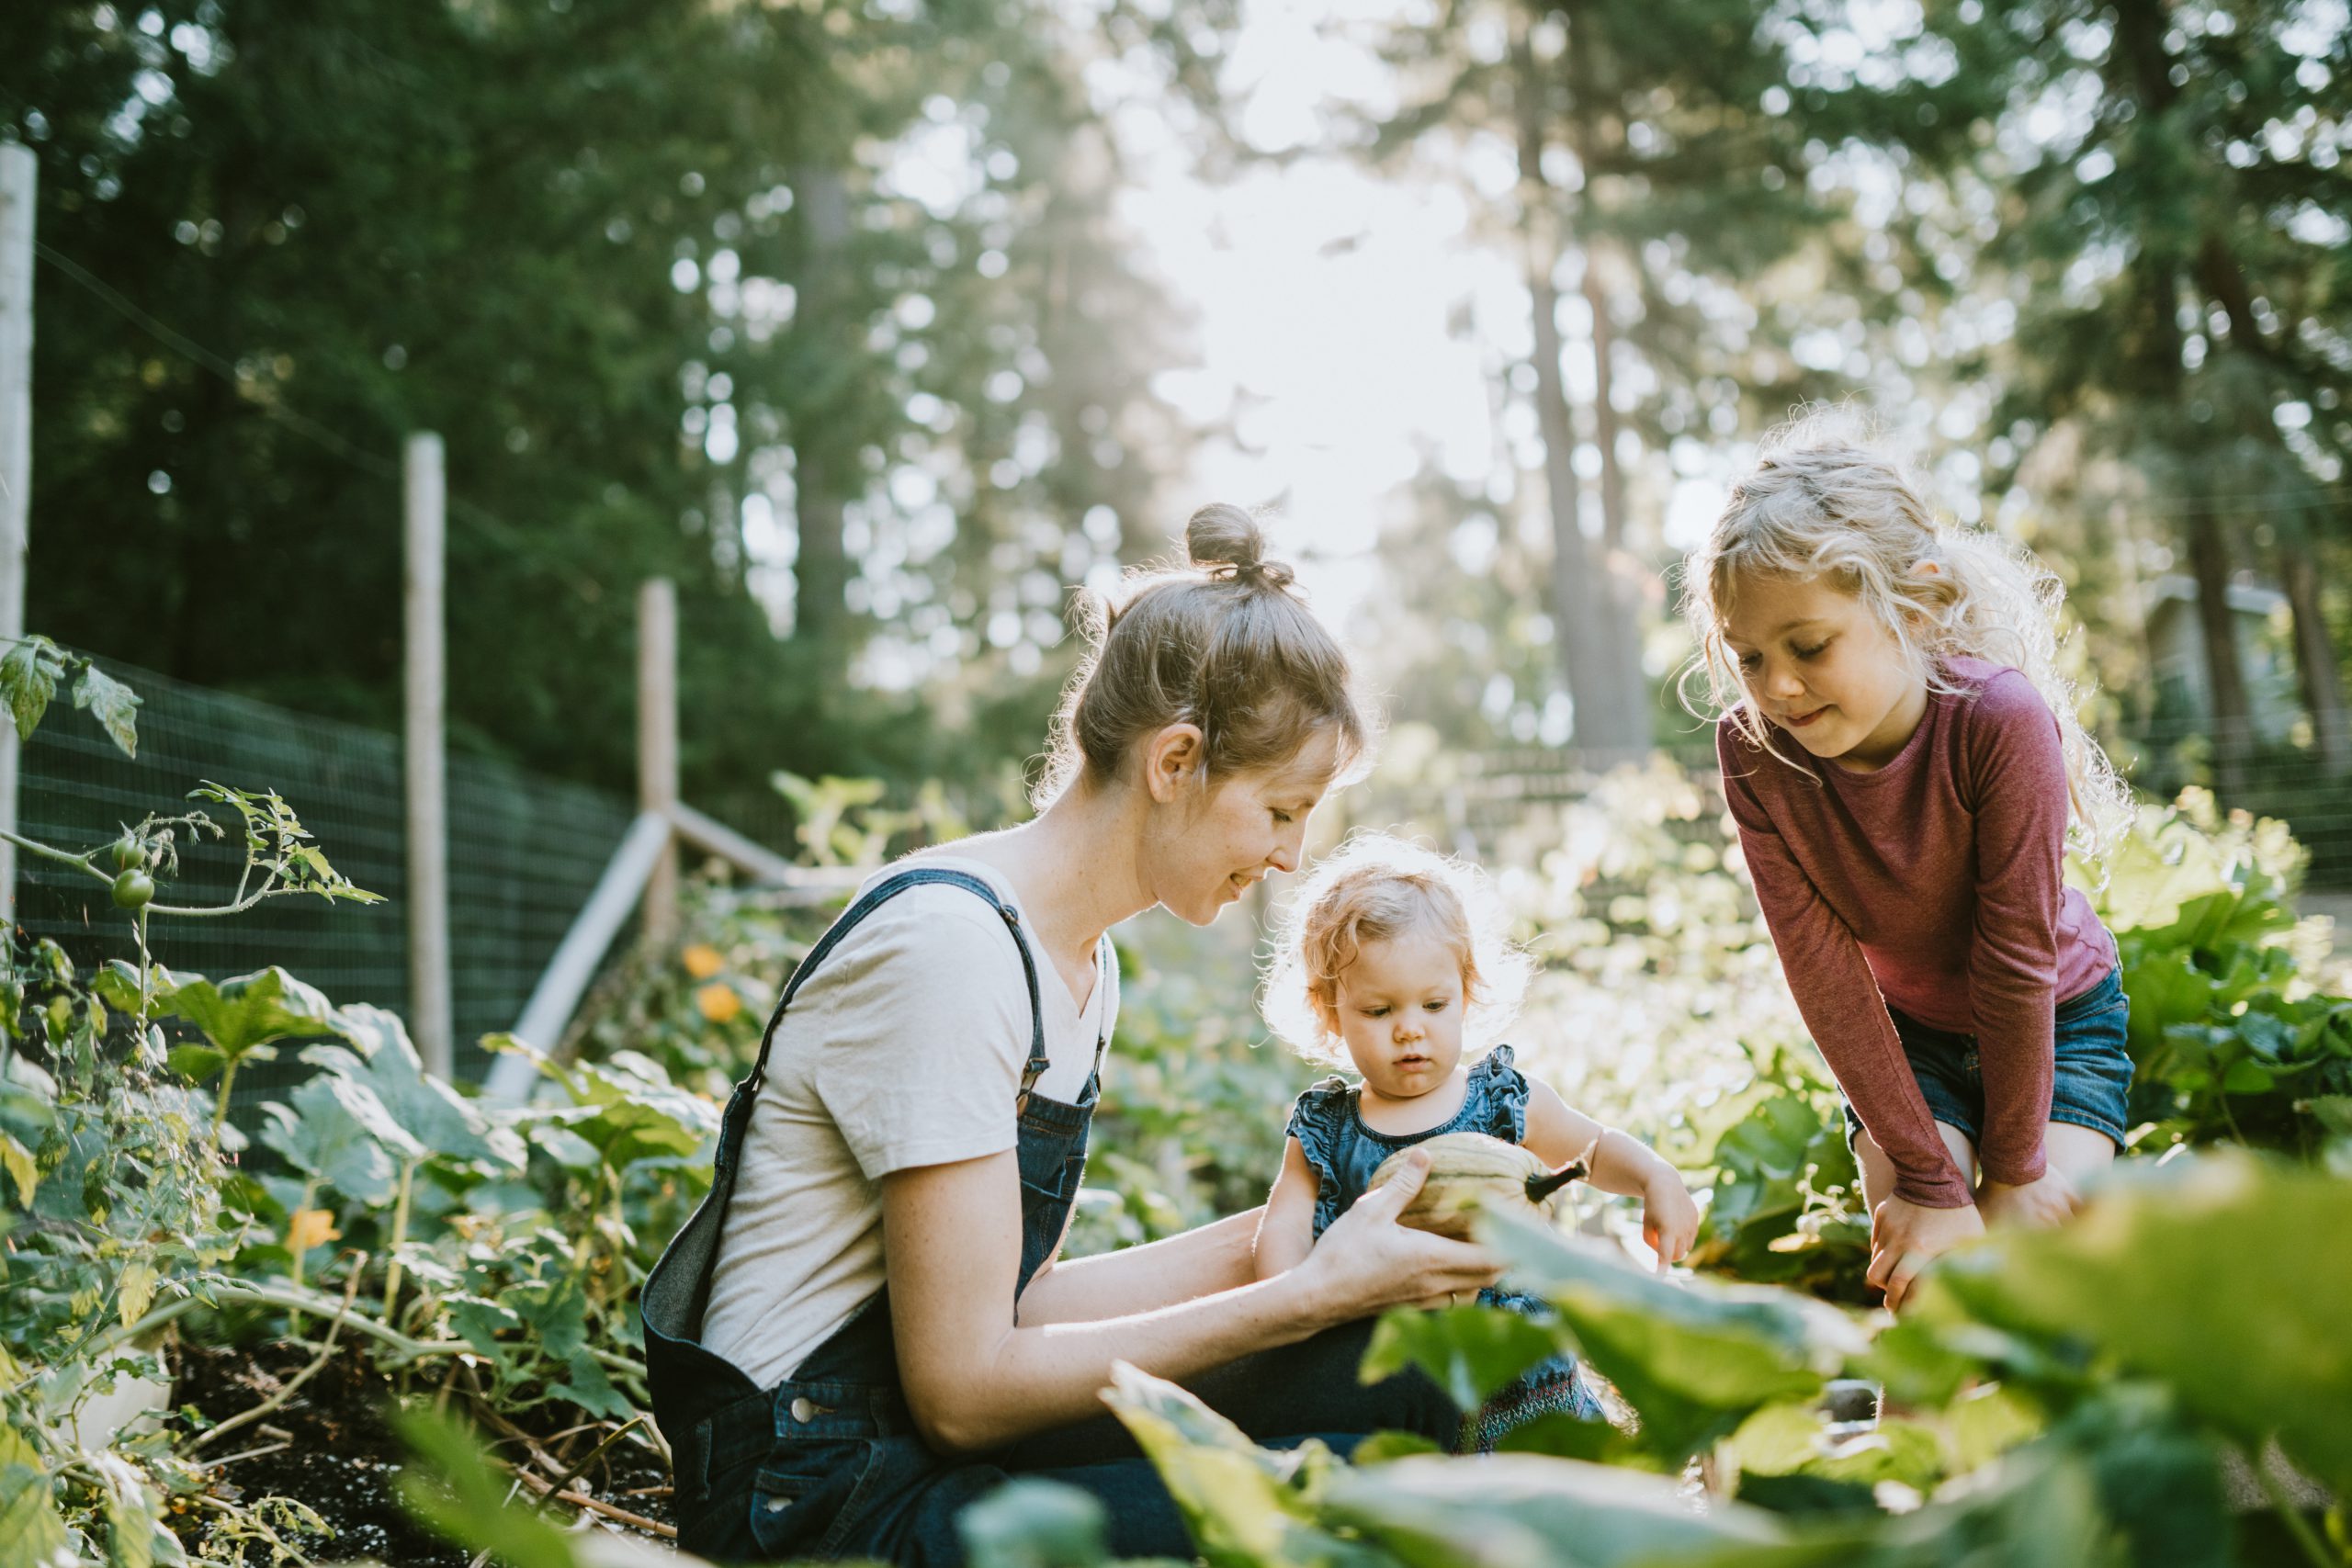
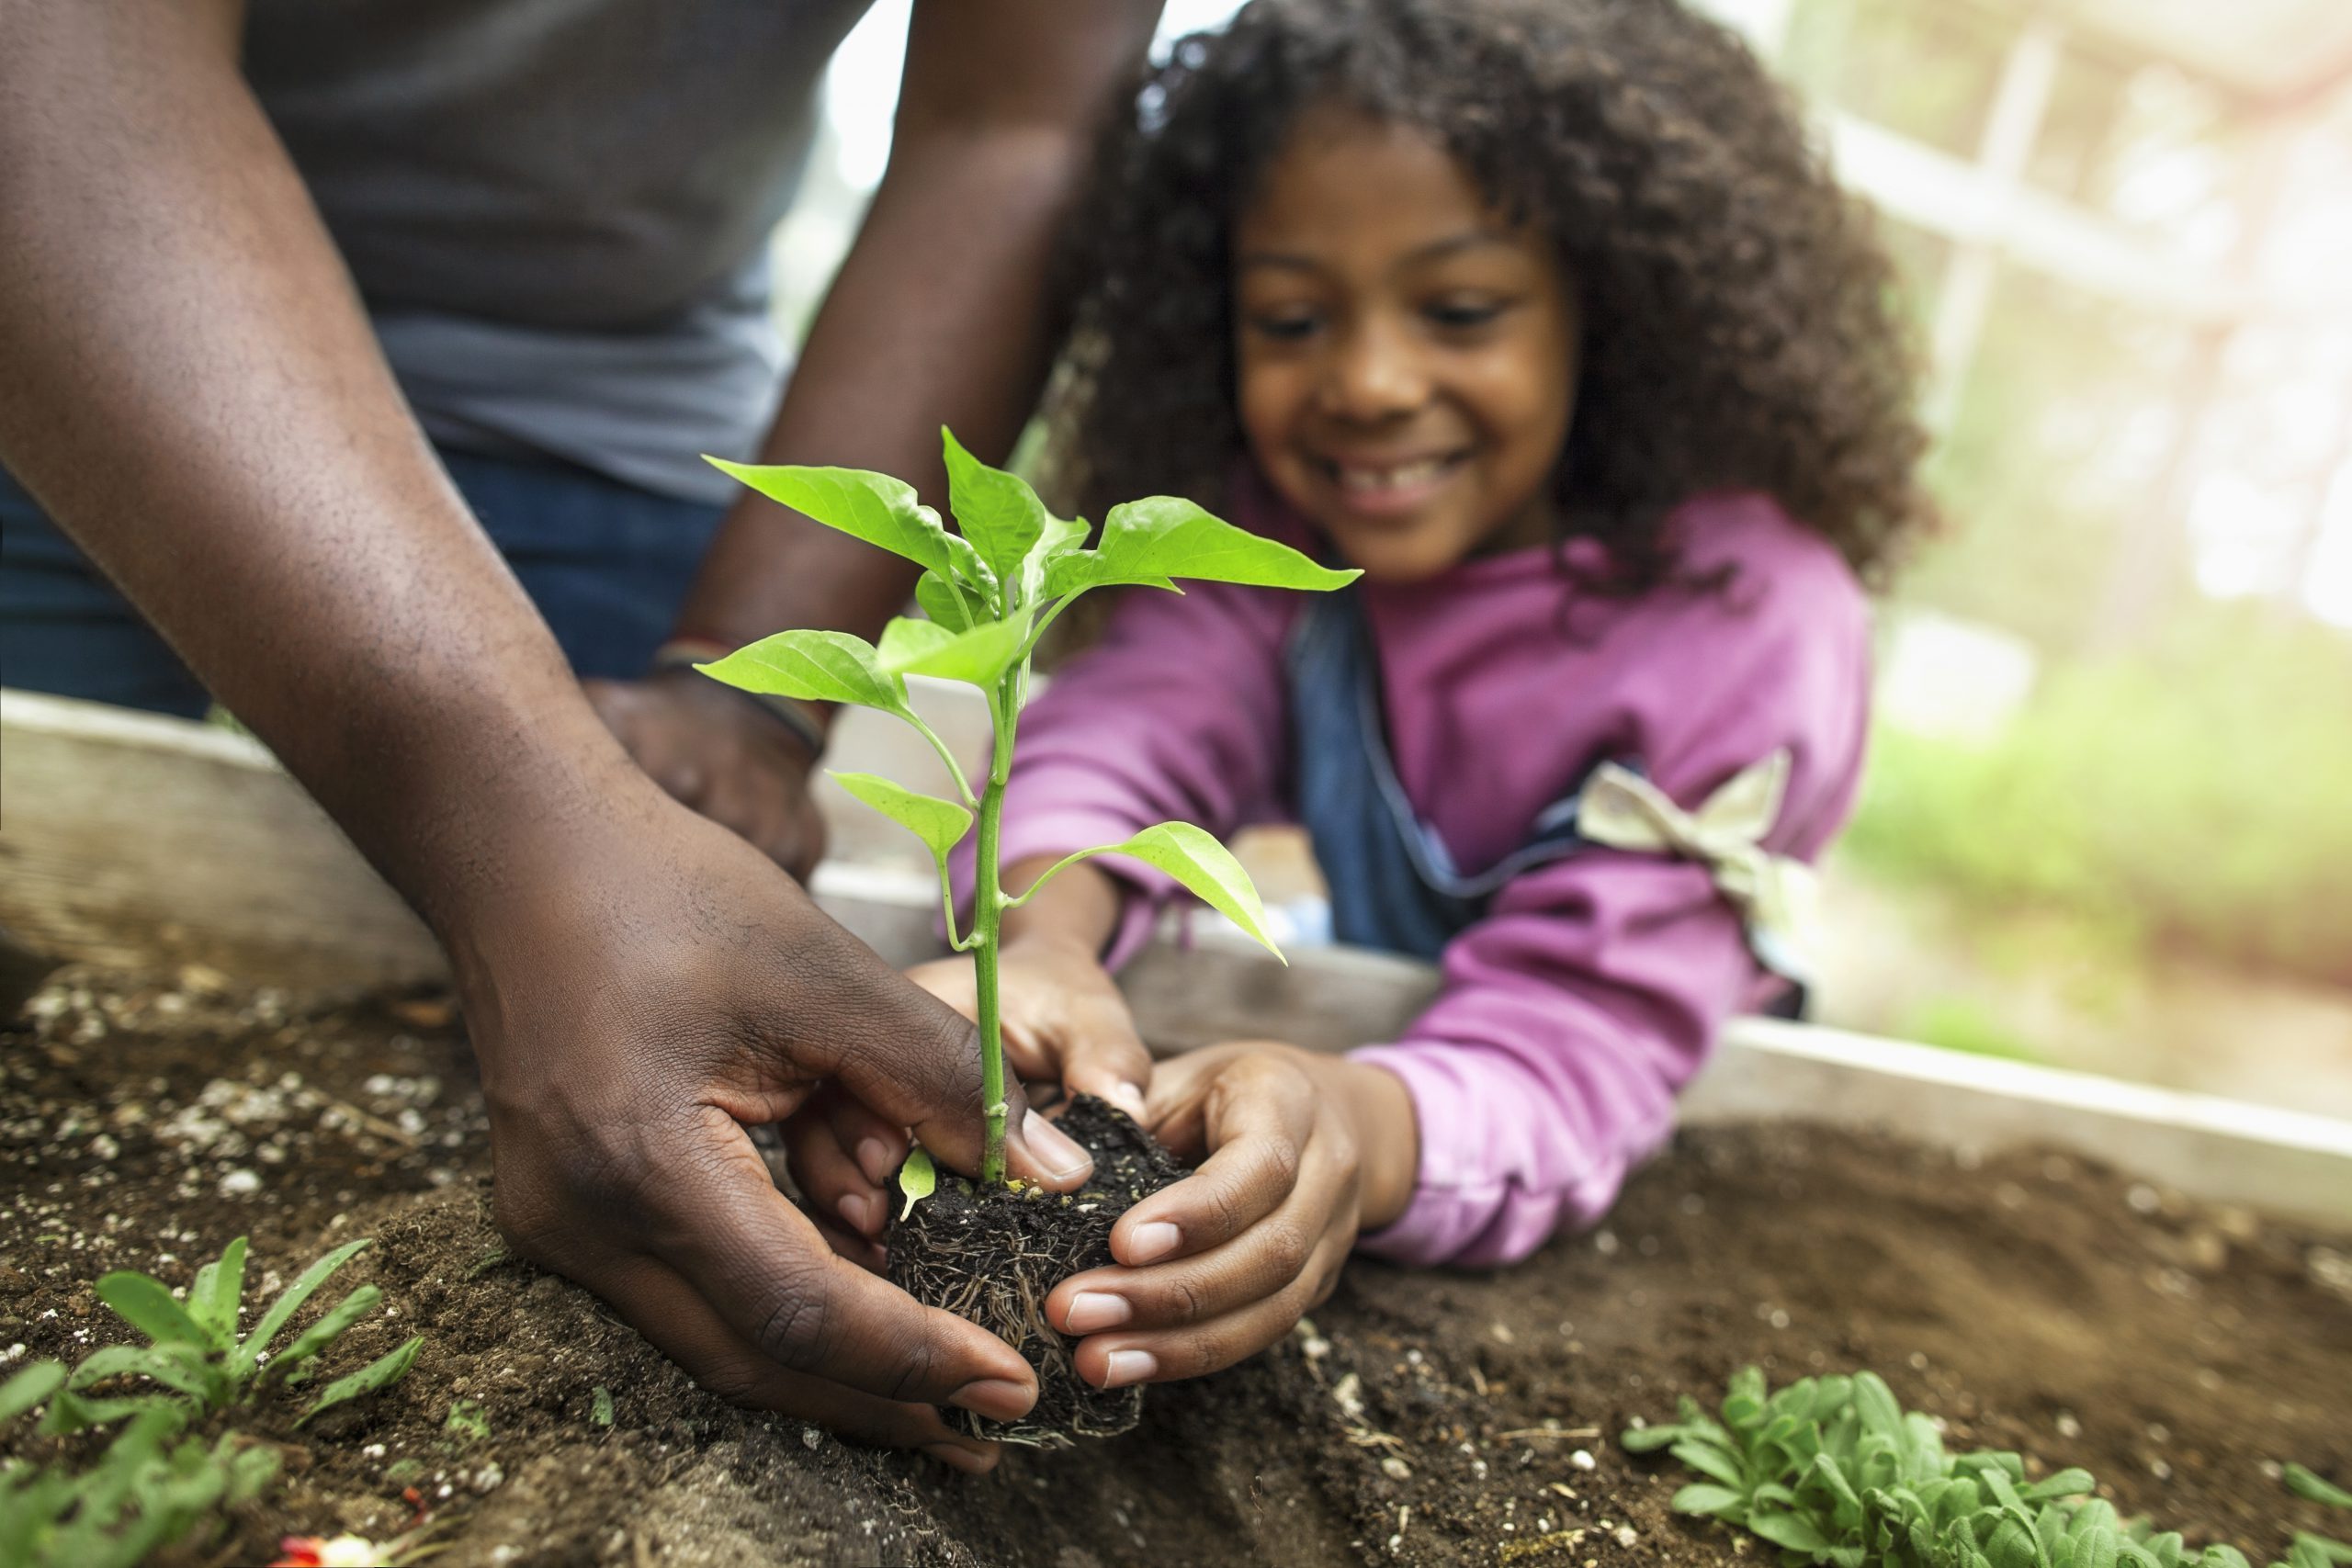
If your home garden is thriving, or even if you’ve just gotten a great deal on fresh produce from the local farmers market, you’re probably looking for canning and pickling options to preserve that food for later consumption.

The good news is that there are a ton of resources out there to help you get started and make your pickling dreams a reality.

Here’s what you need to know before you start pickling at home.

What Is Pickling Salt?

Pickling salt is fine-ground 100% pure sodium chloride. That’s it! It really is just pure salt for canning and pickling at home.

Pickling salt is its most common name, but it can also be called canning salt or preserving salt. It is an important ingredient, and there are a few reasons that it’s important to use pickling salt instead of ordinary table salt.

What Makes Pickling Salt Different from Table Salt?

The biggest differences between pickling salt and table salt are the texture and the added ingredients in table salt.

Pickling salt is much more finely ground than typical table salt, and much finer than larger salt varieties like Himalayan pink salt or chef’s flake salt.

Why does the texture of the salt matter? Finely ground salt has more surface area relative to the volume, which makes it easier to fully dissolve the salt into your brine.

But there is another problem with using other salts instead of pickling salt.

That is, there are other ingredients in common table salt, and impurities in varieties like pink Himalayan salt that aren’t present in pickling salt.

Those impurities can change the composition of your pickle, changing your results. In addition, additives designed to keep the salt from clumping, and additives like iodine can also change how well a pickling recipe does when you use them.

What Happens When You Use a Different Salt in Pickling?

One of the core benefits of pickling salt is that the salt is highly consistent and provides consistent results when you use it. When you use a different salt, you lose that.

The most common reaction to using a different salt in pickling is that it can give you a cloudy brine. For the most part that’s not a bad problem to have, but it can make it harder to monitor the pickle and make sure you aren’t getting any accidental fermentation or bacterial contamination.

Another problem is that using a different salt may introduce off-flavors, especially for recipes that call for a higher concentration of salt, or that are likely to sit and be preserved for a long time.

Can You Substitute Pickling Salt?

Yes, but we don’t recommend it. Pickling salt is always going to be the best option when you’re making a pickle, and often it’s also the best option for other canning recipes as well.

That said, there’s nothing unsafe about using table salt. It just might change the way the pickle recipe works.

Even if it doesn’t make a significant difference in the beginning, the longer your pickle stays in the brine, or the longer your canned goods stay sealed before you use them, the more those differences are likely to show up.

The other challenge is getting the right amount of salt into your pickle. Pickling salts are typically measured by weight rather than volume, which can help make sure the right amount of salt makes it into the recipe.

However, other salts might not have the same weight per volume, so you may have to adjust the amount you add to make sure you’re getting enough sodium chloride into the brine, along with the other additives in the salt.

Getting the right proportion of salt into your brine is particularly important if you are making a fermented pickle.

Is Pickling Salt Only Good for Pickling?

No, but we don’t necessarily recommend using it for regular cooking.

There are a couple of reasons why pickling salt is mostly only used for pickling.

The first is that most table salt is iodized salt. Iodine is an important nutrient for thyroid health, and it’s easy not to get enough in your diet.1 So, while you can use pickling salt in a pinch, you don’t want to completely replace table salt with pickling salt in your diet because you’d risk iodine deficiency.

Taste is another big reason you might not want to switch. One reason so many chefs use larger flaked salt is because those larger flakes, especially added so that they don’t dissolve completely into your food, taste better.

Switching to pickling salt will let the salt dissolve more easily into your food, but it can also make it harder to taste how much salt is there and make you want to add more than you really need.

Looking for More Canning Tips and Recipes?

If you’re looking for more tips and tricks about canning and pickling, visit Mrs. Wages! Or go directly to our blog to see our latest advice!

Sources:

https://my.clevelandclinic.org/health/diseases/23417-iodine-deficiency

As summer sets in, it’s time to think about your first harvest! Canning and gardening go hand-in-hand when you’ve got extra produce, but no situation is exactly the same, so we’ve broken it down into three levels. Of course, these levels are not all-inclusive. Sometimes the most skilled gardening pros are limited by space and sometimes beginners have the means to start big gardens right off the bat. Besides, it’s not so much about the size of the garden, but rather, what you can do with the produce!

So whether you fit into one of our three categories, or somewhere in between, we’ve got some great ideas to grow your canning skills and your garden with delicious results every time!

Level 1: Bag Full

You’ve got some herbs growing here and there with a desire to learn how to can, but most of your produce still comes from the grocery store. This is a great place to start!

Whether this is your first time preserving or you’re looking for a quick pickling fix, then we recommend trying our 1 Step Mixes or Instant Mixes to get started. If you have cucumbers, we’ve got the rest! For a sweet and spicy twist on pickles try our Cherry Habanero Pickling Mix.

Level 2: Basket Full

You’re somewhat limited by space, but you have the capacity for larger crops in a controlled environment with a small harvest for canning.

For our beginner gardeners we recommend trying our Refrigerator Mixes; these get you close to the results of canning but with less labor. Have some extra cucumbers? Our Sweet Pickles Refrigerator Mix can make hamburger-perfect pickles!

Level 3: Barrow Full

You have the means to operate a larger garden and you have crops to spare!

If you’re gathering extra produce, it’s a great time to learn how to can and get the most out of your hard work. Check out our Home Canning Guide for some fresh ideas and safety tips on canning. You can also try our Quick Process® or Seasoning Mixes for an easier way to can and start stocking your cellar!


Safety notes:

For canning safety, always consider your local altitude when calculating accurate processing times. Read this USDA guide for proper food safety and canning processing guidelines or consult the National Center for Home Food Preservation’s Guide 1 Principles of Home Canning. Also, prepare and process home canning jars and lids according to manufacturer’s instructions for sterilized jars. Keep jars hot.

Unless otherwise noted, user-submitted recipes have not been tested by the Mrs. Wages’ test kitchen and are not endorsed by the Mrs. Wages® brand or by KPFG. For more information, please read the legal notice.

Strawberry season has begun and other fruits are soon to follow! Whether you’re picking from your garden or a local farm, this is a wonderful time of year to get out and enjoy the fresh air. But what are you going to do with all of those fresh berries? Jam is always a good place to start and we have four recipes for you to try.

All of these recipes are true blue ribbon winners from State Fairs across the country using Mrs. Wages® products. See below for scrumptious jams you can make at home and win a blue ribbon of your own.

Blue Ribbon Raspberry Jam

Just three ingredients and a little bit of time are needed for this delicious recipe. Great on warm toast with your morning coffee or tea.

Product Needed: Mrs. Wages® Fruit Pectin Home Jell®

Blue Ribbon Raspberry Jam

Blue Ribbon Spiced Cherry Amaretto Jam

With warm flavors like cherry, cinnamon, cloves, and almond liqueur, this jam is best enjoyed on a brisk morning.
Product Needed: Mrs. Wages® Fruit Pectin Home Jell®

Blue Ribbon Spiced Cherry Amaretto Jam

Blue Ribbon Strawberry Jam

A classic jam flavor straight from the Mrs. Wages® cupboard.
Product Needed: Mrs. Wages® Fruit Pectin Home Jell®

Blue Ribbon Strawberry Jam

Blue Ribbon Strawberry Orange Jam

A fantastic combination of flavors; orange and strawberry combines crisp citrus with juicy
sweetness.
Product Needed: Mrs. Wages® Fresh Fruit Preserver

How to Can Strawberry Jam

Safety notes:

For canning safety, always consider your local altitude when calculating accurate processing times. Read this USDA guide for proper food safety and canning processing guidelines or consult the National Center for Home Food Preservation’s Guide 1 Principles of Home Canning.

Also, prepare and process home canning jars and lids according to manufacturer’s instructions for sterilized jars. Keep jars hot.

Unless otherwise noted, user-submitted recipes have not been tested by the Mrs. Wages’ test kitchen and are not endorsed by the Mrs. Wages® brand or by KPFG. For more information, please read the legal notice

We’re now well into 2022, and the prospects of a beautiful spring are beginning to set in as the
frost of winter melts away. That means it’s time to get our expectations in full bloom!

Whether you’re a seasoned gardener with a green thumb or just, well, green, there are certain considerations that go with starting any kind of garden. Even though it may seem daunting, we’re thankful this isn’t rocket science! So let’s get started by covering some of the essential steps to getting your garden growing in the right direction.

Plot Your Plot

The first step in starting a successful home garden is to make a plan. Selecting the garden site, choosing your climate’s perfect vegetables, and calculating the garden plot size are all part of the planning process. If possible, sketch the garden to show the locations of produce and dimensions of the plot.

Prioritize the crops that interest you, and learn from last year’s garden if you had one. Did you end up with so much squash that your friends and family started avoiding you and your bushels of free squash? It might be time to downsize that part of your garden.

Location, Location, Location…

Most veggies grow best when they receive at least six hours of direct sunshine every day, so make sure to put your garden in a sunny place. And the closer to water, the better! This will make it much simpler to keep your garden soil at the right moisture level. Plus, you won’t have to buy so many hose extensions!

Another thing to consider is the health of the soil; your garden will thrive in nutrient-rich, well-drained, weeded, and loosened soil. If you want to enhance your soil’s richness and your garden’s overall health, make the effort to enrich your soil with compost or other organic matter before you plant each spring. Mulch (such as leaves, straw, and grass) also gives vital nutrients to the soil and can reduce the amount of weeding required. You may need to get your arm workout somewhere else this year!

What and Where to Grow

Allow your tastebuds to guide your crop selections, but try to have an open mind about growing at least a couple different vegetables each year to keep your home garden fresh. Not only will this allow you to explore different culinary pursuits, but you will also learn something new about each type of crop!

Arrange the veggies to make the most of the available space and light. Tall plants like peppers, corn, and tomatoes should be planted on the north side of the garden, away from shorter vegetables like beans so as not to overshadow them. Between the bigger veggies, plant small, fast-maturing vegetables. If feasible, plant vine crops on stakes.

Grow with your Garden

First-time gardener? Start small! A typical mistake made by passionate, green gardeners is to make the garden too big. Not only would you be biting off more than you can chew, you’d be growing more than you can eat! If you’re new to gardening, choose a compact plot size and focus on the veggies that you actually enjoy eating. And the easier the crop, the better! Root vegetables are a perfect type of crop for beginners who are just starting to grow their skills.

Enjoy Yourself

Last but not least, enjoy yourself! There’s truly nothing like getting outside in the early morning among the dewy plants and getting your hands dirty. And when it comes harvest time, be sure to share your generous bounty with friends and family!

In our last article we went over how important gardening and canning can be for your personal health goals. Today, we’ll be discussing some recipes for you to try at home – either with or without your home grown produce. 

This list includes fresh flavor combinations, baking instead of frying, and new uses for your vegetables. Here are three recipes for you to try today. 

Baked Avocado Chips

Baked instead of fried, these avocado treats are crispy on the outside and soft on the inside. Served best with Mrs. Wages® Guacamole Seasoning Mix .

Panzanella Bread Salad 

An innovative take on bruschetta that brings together bright and savory flavors using Mrs. Wages® Bruschetta Mix.

Bacon and Dill Potato Salad 

A sweet and salty side, snack, or appetizer made using turkey bacon, red potatoes, and Mrs. Wages® Sweet Pickle Relish Mix.


For more ideas in the kitchen, check out Mrs. Wages® Recipe Page with new recipes being added! Thanks for stopping by. 

Every year around this time we have the opportunity to focus more intently on our New Year’s resolutions. For many people, these resolutions revolve around health and fitness.  

Having goals, especially ones related to health, is a great way to increase activity, improve mindset, and create a sense of accomplishment. You can do this through fitness, diet, or all of the above, but oftentimes the difficulty lies in the details.

Eating right is as difficult as ever, but growing and canning your own produce gives you more control and can help you feel confident in your food’s nutritional value. Two ways that canning can do this is through supply chain independence, and sustainability. 

Supply Chain Independence

Knowing where your food comes from is an essential part of meeting health goals. If you grow your own produce then the answer is simple, your veggies and fruits come straight from your own backyard. However, for many health conscious individuals, tracking food from the vine to your belly can be difficult. Besides shopping at a farmers market or the local section of your grocery store, many fruits and vegetables are coming from outside the country or state due to differing climates. This produce must then travel hundreds of miles to your local grocery store – sometimes weeks after having been harvested. The result? Many items are not properly ripened and have reduced freshness due to travel. 

Harvesting and canning the produce yourself gets around a lot of these problems by shortening the supply chain to the ground > your shelf > your stomach. 

Control & Sustainability

Fresh food gets all the attention, but canned food deserves just as much praise. The canning technique, which has been used to preserve food for generations, maintains most nutrients until consumed – reducing food and packaging waste while also providing healthy and easy options for dinner. 

Growing and canning your own produce not only frees you from relying on commercially grown foods, it enables you to control the environment in which your produce is grown and stored. Using glass jars guarantees that your foods are kept fresh and healthy.

In addition, eating what you’ve canned allows you to have more control over your eating habits. Canning will guide you towards snacking on fruits and veggies, and away from less healthy options. It can help bring your health goals within sight!


Check out the Mrs. Wages® FAQ page for tips on canning, recipes, and safety.

Italian cuisine has given us a very simple, yet delicious, antipasto dish known as bruschetta. While basic bruschetta is made of bread with olive oil and salt topping, many variations have emerged over the years. In fact, people create their own versions of the antipasto to meet their taste requirements.
You can also find instant bruschetta mix in the market and use it in various ways to create some fantastic flavors. Here we have some incredible ways you can create meals from bruschetta mixes to make your everyday meals more exciting.

1. Bruschetta Chicken Pasta

If you want a simple yet filling meal, bruschetta chicken pasta is something you should consider. The process of making a delicious pasta meal becomes significantly easier with an instant bruschetta mix. The mix already has a blend of spices, dried vegetables, and herbs. It will give your dish the perfect flavor without adding many ingredients.
All you need to do is sauté garlic in oil, add chicken and cook it with salt and black pepper. Once the chicken is done, add the bruschetta mix to it. Meanwhile, boil the pasta in another pot and add the drained pasta to the chicken mixture.
Toss all the components together and add parmesan cheese for a complete Italian meal!

2. Feta Bruschetta

Not sure if you are feeling Greek or Italian tonight? Get the best of both worlds with this dish-Feta Bruschetta! First, combine your bruschetta mix with feta cheese in a bowl. Next, prepare your ciabatta bread with some olive oil, drizzle and fry it on a griddle pan over high heat.
Once the ciabatta is ready, rub some garlic on both sides and add the bruschetta and feta mixture on top of it. Enjoy it hot and fresh with a drizzle of balsamic glaze to take the flavors to another level.

3. Instant Pot Bruschetta Chicken

Imagine you can just put a few ingredients in a small kitchen appliance, and voila! Thirty minutes later, a fantastic meal comes out. If you’re short on time, yet want a delicious chicken meal, use an instant pot to make this tasty dish.
Add chicken breast into the pot with garlic, olive oil, chicken broth, white wine, and Italian seasoning to absorb all the flavors. Then add in the bruschetta mix and toss everything together. Finally, add toasted bread slices on the side to complete the bruschetta chicken dish.

4. Bruschetta Chicken Wraps


You can create a light and healthy meal with bruschetta mix that uses a tortilla instead of bread. This simple bruschetta chicken recipe calls for grilling the chicken on a lightly oiled grill rack with salt and black pepper seasoning. Once the chicken is done, add a cheese slice to it and grill for another minute or two until the cheese melts.
Prepare your tortillas by grilling them over medium heat for 30-60 seconds or until they are heated. Next, place the chicken on the tortilla and top it with the bruschetta mixture. Add some extra vegetables if you want a fresher element to your meal. Then fold the tortilla over the filling, close it, and enjoy!

Conclusion


Bruschetta is a delicious and simple antipasto that people enjoy worldwide. With various kinds of bruschetta mixes on the market, you can easily create several different dishes. Your family members and guests will be impressed with your cooking expertise!
Head over to Mrs. Wages®, look for more instant mixes, broths, and seasonings, and find some incredible recipes to help you with everyday meal preps.

Having a lush, beautiful garden is desirable, but achieving it is easier said than done. A lot goes into planning a successful garden. You must select the right plants and understand their needs.

While all that sounds like hard work, there’s nothing more fulfilling than seeing your garden bloom.

Here are some tried and true ways to manage your garden better and keep it disease-free.

1. Keep Your Garden Healthy

Plants in your garden can easily fall sick and get damaged if not properly taken care of.

You can prevent mishaps by stopping the disease triangle from occurring in your garden. This triangle includes a plant (host), an attacking pathogen (virus or bacterium), and disease-promoting environmental conditions like drought or humidity.

Be sure to buy plants that are disease-resistant and keep an eye out for bugs. Furthermore, keep your garden clean of fall leaves and damaged limbs that can introduce disease to your garden.

2. Choose The Right Plant

One of the best ways to manage your garden is to select the right kind of plants for you. It is essential to understand your garden’s growing conditions before you choose what to grow.

For instance, sun-loving plants naturally grow well in sunny spots, heat-tolerant plants are meant for warm climates, and ground-gobbling vines, such as melon, need room to spread. So, take the time to understand your garden space and choose varieties that grow well in conditions that are prevalent in your area.

3. Use Fully Composted Waste

Investing in quick-draining and nutrient-rich soil is a no-brainer. Fully composted waste produces high temperatures for long periods, which kills any pathogens in it. However, if you use waste that has not undergone this process, it will reintroduce disease in your garden. As a result, it is essential to use the right kind of waste.

4. Water Is Essential

Having a water source near your garden is a must. It is helpful to have a hose near the garden site that you can use to water your plants whenever they get thirsty.

If you are confused about when to water your plant, push one of your fingers an inch into the soil to check if it is dry. If so, water the plant right away.

5. Know The Frost Dates

Planting requires good knowledge of the weather to avoid any seasonal damage. Be sure to know the average spring frost date in your area to avoid killing your plants through premature planting.

It is also essential to know your area’s first average fall frost date. This will enable you to harvest your plants or move them indoors, so the late-season cold doesn’t damage them.

6. Preserve The Excess

If you are growing fruits and vegetables, sometimes you have excess produce. It might be a good idea to be prepared with canning supplies in order to preserve your extra produce instead of letting it go to waste.

Certain fruits and veggies are easy to preserve for use throughout the year. Use airtight containers to store your excess harvest properly, and enjoy it later!

Conclusion

Your garden needs proper management to survive and keep producing a good harvest. You can follow some of the tips outlined above to properly take care of your garden, whether it involves keeping it healthy or preserving the excess.

Find out more about gardening tips and canning guides at Mrs. Wages®

A home garden is more than just a piece of land. A lot of hard work, sweat, and dedication go into making it flourish. So, it’s only natural for us to want the best for our gardens.

Start by setting up a garden that is appropriate for the local climate, and the type of soil. Then determine what your needs and goals are for your garden.

Whether you want fresh produce or flowers, here are some of the many garden types you can plant at your home.

1. Raised Gardens

Raised gardens are built on soil that is higher than the rest of the ground. This is usually done by creating an outside border from wood, stone, or even bales of hay.

Many gardeners prefer raised bed gardening because it offers better water retention in sandy soils and better drainage when dealing with clay soils. There are also fewer weeds, giving plants more space to grow.

If you choose to plant vegetables, try starting with cherry tomatoes, carrots, onions, peppers, or herbs. Your raised garden will produce stellar produce in no time!

2. Vegetable Gardens

Vegetable gardens, also known as “kitchen gardens,” should be a staple for every household.  Growing your own fresh veggies can significantly reduce your grocery expenses and provide a more natural and healthy option.

Pairing certain plants together can be beneficial and help them grow more successfully. For example, corn, beans, and squash work well when planted together. Similarly, tomatoes, basil, and onions can help each other thrive.

As a beginner, it is better to grow vegetables that require less attention. It is suggested that those who are new to gardening transplant already grown plants that may be around a month old, since they will mature faster than seeds. Potatoes, beans, onion and garlic are all commonly used and are a great way to start your “kitchen garden.”

3. Container Gardens

Don’t have enough area to plant a traditional garden? Don’t worry because container gardens work well in limited spaces.

You’ll need a container and some fertile soil to get started. Tubs, flower pots, or barrels can all do just fine as long as you make holes in the bottom for drainage. Next, plant your seeds and place the container on the porch, windowsill, or anywhere it can get a bit of sunlight.

Tomatoes, peppers, eggplants, green onions, lettuce, radishes, and parsley can grow very well despite the limited space. Once you’ve had some luck with your container garden, also try your hand at pole beans and cucumbers.

4. Indoor Gardens

If you live in a colder climate where sunshine is hard to come by, it is still possible to have a garden.

In order to have a traditional indoor garden you will need a dedicated space in your home with room for gardening containers to grow your plants in. You will want to keep your gardening space away from pets or children. Achieving the appropriate amount of light is an important factor. Consider purchasing full-spectrum light bulbs that mimic the light from the sun.

Besides light and garden containers you will just need some good soil to get started.Try planting peppers, leafy greens, oregano, or lavender to ease you into indoor gardening.

5. Herb Garden

Wouldn’t it be nice to always have fresh and aromatic basil, parsley, sage or mint at hand when cooking?

You can plant an herb garden in raised beds or containers. All you need is a little sunshine, regular watering, some fertilizer or compost, and good drainage.

Herbs should grow just fine in pots and don’t take much space, making them an easy starting point for those who are new to gardening.

For more gardening tips, recipes, and canning guidelines of your produce, head over to Mrs. Wages.

Land o Lakes

And follow us on your favorite social media apps: